

|
|
|
|
|
|
|
|
|
|
|
|
|
 |
Install a Live-CD on USB sticks with UNetbootinAn USB stick is much faster than a CD-ROM. Booting the JonDo Live-CD from USB sticks takes only 40 seconds, booting from CD-ROMs takes 2 minutes until the desktop appears. You may use the tool UNetbootin to "burn" the ISO image on an USB stick and make the stick bootable. For Windows and MacOS you have to download and install the tool from the website. Follow the instruction on that website. For Linux distributions you may install the UNetbootin with the package manager. It is part of nearly all distributions. After the installation of UNetbootin you have to prepare the USB stick. You need a stick with at least 1.5 GB free space, formatted with FAT32. Insert the stick into your computer and start UNetbootin. 
Choose the ISO image jondo-live-en-i386.iso and the USB drive for installation and click "OK". 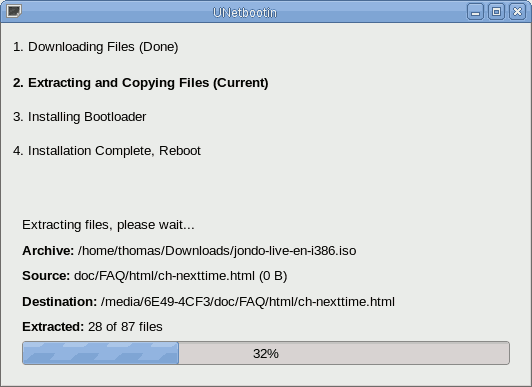
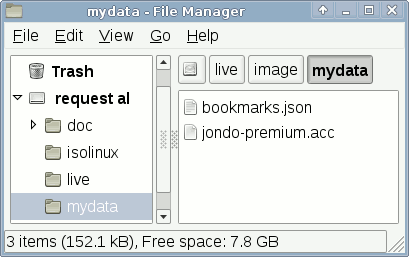
After the installation process has finished, you may use the USB stick still like a normal storage stick. Create a directory on that stick for the files you will need in the live system. You may, for instance, create a directory "D:\mydata" on the stick and store your JonDonym premium account, Firefox bookmarks and other data you may need. You can access this directory in the live system at "/live/image/mydata" (read only). 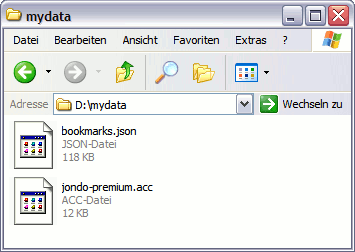
If all is done, reboot the computer and choose the bootable USB stick as boot device. If the stick is not used automatically, you may hit the key "F12" for boot device selection and choosing the USB device/drive manually.
|
|
||||||||||||||||
|
|
|
|||||||||||||||||
 JonDo Live-CD